Cash App Auto Accept: How Incoming Payments Work
Contents
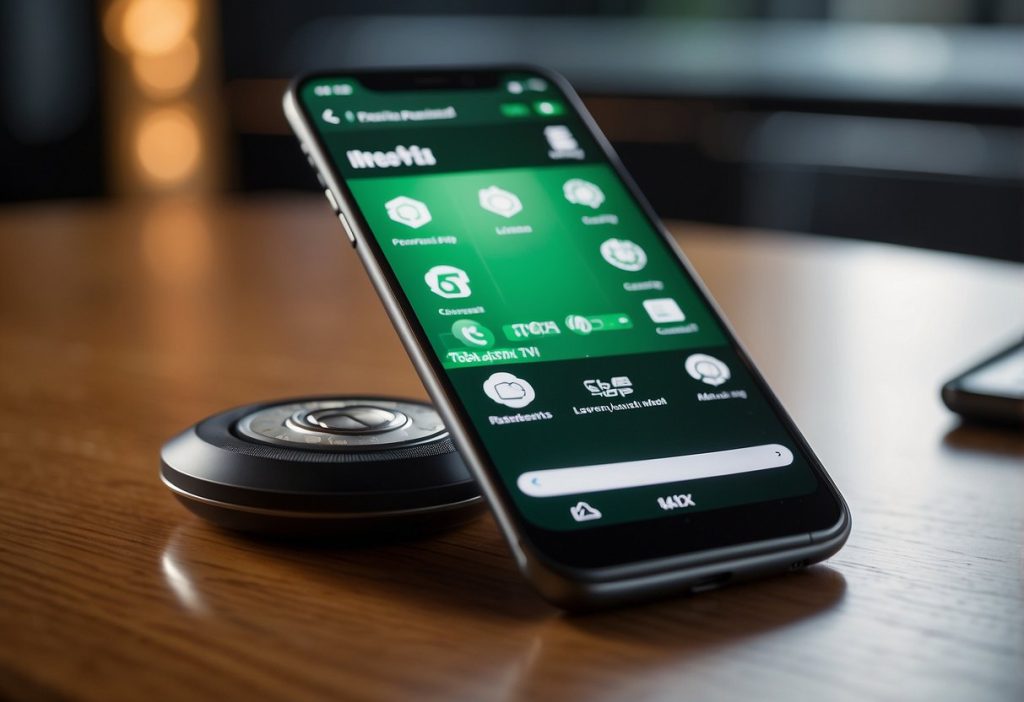
Cash App is a convenient way to send and receive money using your mobile device. Many users want to save time by setting the app to auto accept payments.
The good news: most payments already arrive on their own. According to Cash App's guide to sending and receiving money, money sent to you goes to your Cash App balance automatically.
Some payments, though, arrive marked "Pending" and need your approval. Here's how to handle those and keep incoming money flowing.
Setting Up Auto Accept on Cash App
Cash App's own help content doesn't describe a separate "Auto Accept" switch. What you can control is your privacy settings, your identity verification and how you handle pending payments.
Accessing the Settings
- Open Cash App: Launch the Cash App on your mobile device.
- Profile Icon: Tap the profile icon to open your account.
- Account & settings: Open Account & settings, then Security & privacy. Cash App says to review your privacy settings to make sure you allow people to request money from you.
Accepting Pending Payments
- Activity Tab: Open Cash App and tap the Activity tab.
- Find the Payment: Look for the payment marked as Pending.
- Accept: Tap the payment, then tap Accept.
If a payment you expect never shows up, check for identity verification prompts in your profile. Cash App says completing verification often resolves receiving limit issues.
Linking Payment Methods
You don't need a linked bank account to receive money; it stays in your Cash App balance. To move money out, link a bank account.
- Profile Icon: Tap the profile icon in Cash App.
- Linked bank accounts: Under Account & settings, select Linked bank accounts.
- Link bank: Tap Link bank (you may need to link a debit card first) and follow the prompts.
Standard transfers to your bank are free and take 1 to 3 business days. Instant transfers arrive in minutes but cost 0.5% to 1.75% (minimum $0.25), per Cash App.
Optimizing Transaction Management
To manage your transactions effectively, know your limits, watch your account activity and use the features that fit how you get paid.
Understanding Transaction Limits
Knowing your Cash App limits helps you avoid declined or stuck payments.
- Without verification: Cash App says you can send up to $250 per 7 days and receive up to $1,000 per 30 days.
- With verification: Verifying your identity raises these limits. Check the current figures in the app, since limits can change.
- Card and ATM limits: Your Cash App Card withdrawal and spending limits are listed in the Limits section of your profile in the app.
Monitoring Account Activity
Check your Cash App activity regularly so you can spot suspicious transactions early. If you see anything unusual, contact Cash App support through the app.
- Keep your details current: Make sure your $Cashtag, email and mobile number are up to date.
- Enable notifications: Turn on notifications on your iOS or Android device to see payments as they arrive.
Cash App payments are instant and can't be canceled once sent. The FTC warns that if you send money to a scammer through a payment app, it's hard to get it back. Only send money to people you know.
Leveraging Additional Features
Cash App offers other features that can help you manage incoming money.
- Direct Deposits: Set up direct deposit to get your paycheck in your Cash App balance; Cash App says it can arrive up to 2 days early.
- Paper Money Deposits: Deposit cash at participating stores for a $1 fee per deposit.
- Payment Links: Share the payment link in your profile so people can pay you without typing your $Cashtag.
Sources
- Send and receive money on Cash App: Step by step, Cash App
- Mobile Payment Apps: How to Avoid a Scam When You Use One, Federal Trade Commission